
I am so excited to share with you my most recent project... turning an old table into an upholstered ottoman! It was actually really easy and I think the result is a very professional looking ottoman! Here's how I did it.

I already had this coffee table, but you could easily find one like this on Craigslist or maybe you already have one around the house. Anything that has legs that you like and an easy shape to cover will work. If the table is taller, you can cut the legs down so that the ottoman will be comfortable for resting your feet on. This one was fine, so I didn't do that step.

First, I painted the legs. You could stain them or leave the legs as they are, whatever you prefer. I used Martha Stewart Light Reflections paint and gave the legs a slightly distressed finish. Annie Sloan Chalk Paint would be a great option too.

Because of the shape of my table, I added wood around the bottom, so that the finished shape would be straight on the sides and I would have something to hammer my nail heads into.


If you are going to want to add tufting to your ottoman, go ahead and figure out the placement of the buttons. For my square ottoman, I decided to use this pattern of button placement.

Drill holes in your table(!) where the buttons will go, so that you will be able to thread a long needle through later.

Cut your foam to fit the top of the ottoman. I used 2" high density foam from JoAnn's fabric. It usually cost's about $32 a yard, so be sure to get it on sale or use a coupon! To cut the foam, use a marker to draw a straight line and then use a sharp blade, like an Exacto knife, to cut through the foam (a serrated knife from your kitchen even works well).

Use spray adhesive to glue your foam directly on top of the table.


Next, I cut foam strips to go on the sides. This makes it comfy on the sides so you won't hurt your leg if you bump into it. Use the adhesive to get it to stick and stay in place. At the end of this step, you should start to see your ottoman coming together!

Cover the foam and table with batting.

Use a staple gun to staple the batting to the underside and pull tightly to get the shape on top that you like.


I cut out and stapled down the excess fabric on the corners and underneath, so that there was no extra batting hanging down. Now your table is really starting to look like an ottoman!

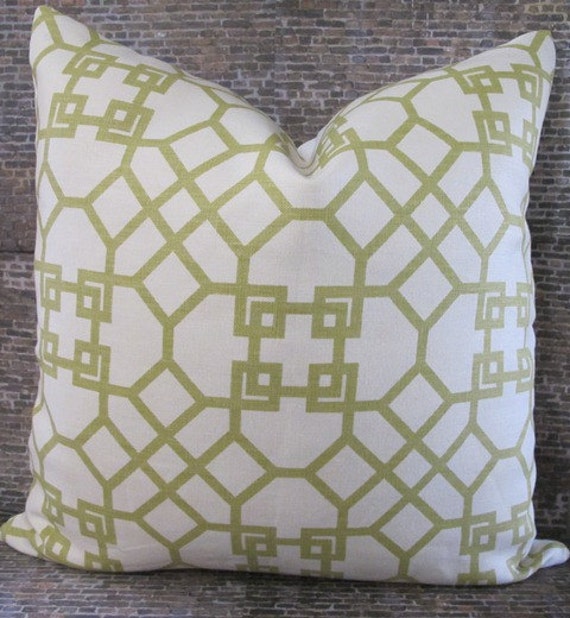
Place your fabric on top of the ottoman and make sure you have it lined up properly if you have a geometric fabric. I tacked it in some places on the bottom to make sure it stayed in place.

Flip the table over and staple the fabric to the wood. Work around the sides making sure it is pulled tight. I made straight seams down the side on the corners, but you could do a lot of different things to finish the fabric at the corners however you like.

To add the buttons, push a long sturdy needle straight up from the bottom, through button covered in your fabric, and then back down. You can secure the knot on the underside of the table with another button or some nails to hold it in place. Make sure you use heavy duty upholstery thread, it won't break from the tension. Pull all of the buttons so they are equally as deep in the foam as the rest.

Yay, a tufted ottoman!

The last step is to add decorative nailheads along the base of the ottoman. Use a rubber mallet to hammer them in without damaging the surface of the nail heads. I placed the nails about 1 inch apart and used a pen to mark all of the holes, so they would be in a straight line.

And there... you're done! Now you have a great and much more inexpensive upholstered ottoman, in the fabric of your choice!


.JPG)
.JPG)


![[otto4.jpg]](https://blogger.googleusercontent.com/img/b/R29vZ2xl/AVvXsEiFBnLaywnzZ08zzJ1xHhYrILnR-j8DELhKg7uj2gZ7In4_igtNGjlajqSP8qDnFRRPtlUR_Z5hGlslaVh-zx7KQXhlyKA2SEAq9EMMvGWWVgBoM_nqmft4Fs5RRAlRvRleiPM_es-0LFbS/s400/otto4.jpg)


.JPG)
.JPG)
.JPG)
.JPG)